Game Of Life
Introduction
A few years ago while going down the computer science rabbit hole on YouTube, I discovered Conway's Game of Life - a Zero-Player Game with just three simple rules. If you aren't already familiar with the game, here is a simple explanation video.
How can a zero player game be any fun?? The thing that makes Conway's Game of Life so intriguing is the complexity that can come from very simple rules. People have spent years building amazing things in the Game of Life like a Turing machine and even the game of life inside the game of life. (Check out those links, your mind will be blown).
It wasn't till a few weeks ago when I decided to play around with Conway's Game of Life myself. The websites I found were amazing and the performance was unbeatable, however they were missing a few features that I would've liked to see. I didn't like having to search the wiki to be able to look at and manipulate the patterns people have made. I would also like to be able to add multiple patterns to one workspace and see how they interact with each other.
I could do better!
Vision
I want to build a visually appealing Conway's Game of Life that is more community driven than existing Game of Life apps. I would like people to be able to save and upload their creations and have a UI where those creations are easy to browse and drag into your workspace.
Goals
- Become proficient in Django
- Design algorithms to make running the game as efficient as possible
- Make a beautiful UI and a performant backend
- Stay away from stackoverflow and ChatGPT
- Be the greatest to ever do it
Update 1: The Grid
I feel like the best place to start on this project is to put a grid on the screen. My first reaction is to just use a map function with a bunch of divs. This approach would make styling the grid easy, however I want to make the grid big while still having decent performance. I don't think my computer would appreciate me rendering thousands of tiny dom elements so that idea is out.
Another approach is to use an HTML canvas. With a canvas, building and styling our grid will be a little more tricky, however the performance will be worth it. Also, I would be able to calculate and render our initial base grid only once, then have overlapping canvases that could render all of our changing tiles. Let's do it this way.
First to draw out our base grid onto the canvas. I know that I will be using many of the same variables and calculations across multiple functions and layered canvases, so I created a canvasFunctions.tsx file. This way I will be able to keep all canvas/grid logic in one place and import the functions to any of my React components as needed. Here is the global variable declaration, and background grid logic.
const screenWidth = window.innerWidth
const screenHeight = window.innerHeight
const rectSize = 20
const squareToBorderRatio = 0.25
const rad = rectSize / 9
const space = Math.floor(rectSize * squareToBorderRatio)
const yBoarder = screenHeight % (rectSize + space)
const xBoarder = screenWidth % (rectSize + space)

export function drawGrid(context: CanvasRenderingContext2D) {
  console.log('drawing grid')
  context.fillStyle = 'white'
  context.fill();
  var i = Math.floor(yBoarder / 2) + Math.floor(space / 2)
  var j = Math.floor(xBoarder / 2) + Math.floor(space / 2)

  while (i + rectSize < screenHeight) {
    while (j + rectSize < screenWidth) {
      context.roundRect(j, i, rectSize, rectSize, rad);
      j += rectSize + space
    }
    //move down a row
    i += rectSize + Math.floor(rectSize * squareToBorderRatio)
    var j = Math.floor(xBoarder / 2) + Math.floor(space / 2)
  }
  context.fill()
}
going to refactor so there is not so much floating point math. also the grid might not be centered right...
Now that we have our logic, I need to put it into a react component so that our canvas is rendered. I made a file called GameCanvas.tsx that will be the base component of our game.
Next, I would like to be able to track our mouse position on the screen, and highlight what square we are hovering over. I don't have a ton of experience with react event listeners but when researching, I found a blog by Josh Comeau where he made a react hook for using the mouse position. His blogs are great and helped me out when making this website too. Check him out here.
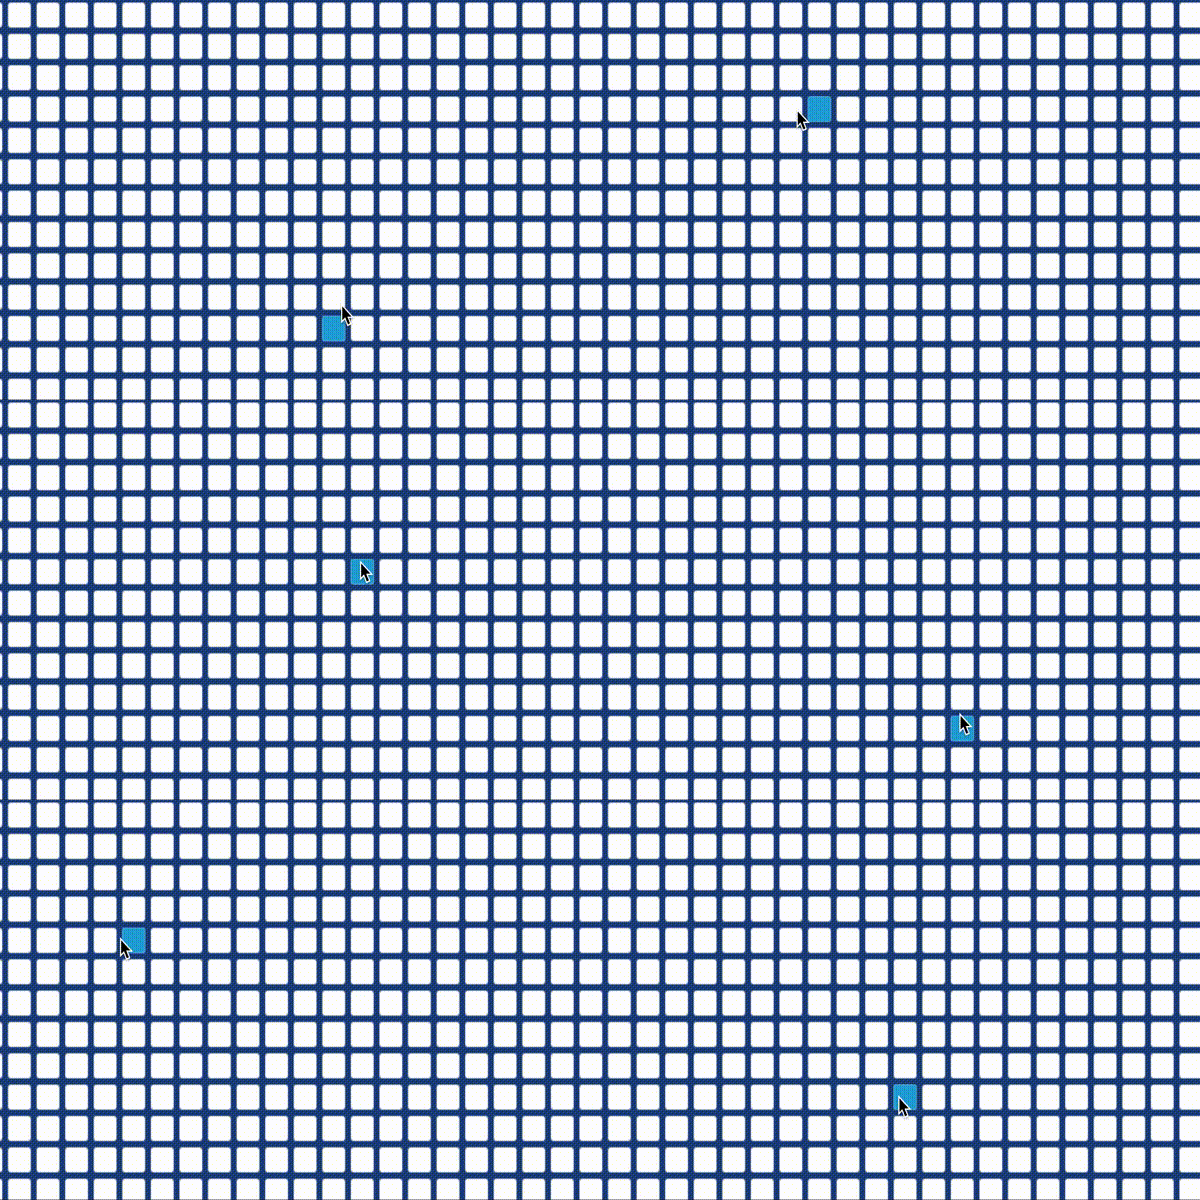
I made a react component CanvasOverlay.tsx that re-renders another canvas every time our mouse position changes. Separating this piece into a different canvas will spare us from re-rendering our base grid over and over which is an expensive computation. Now it's time to draw our highlight square.
export function hoverSquare(xCord: number, yCord: number):number[]{
  console.log('hover square')
  const xGrid = Math.round((xCord + ((space+xBoarder) / 2)) / (rectSize + space))-1
  const yGrid = Math.round((yCord + ((space+yBoarder) / 2)) / (rectSize + space))-1
  return [xGrid, yGrid]
}

export function drawSquare(context: CanvasRenderingContext2D, xGrid: number, yGrid: number){
  console.log('drawing square')
  const xpos: number = (xGrid * (rectSize + space)) + Math.floor(xBoarder/2) + Math.floor(space/2)
  const ypos: number = (yGrid * (rectSize + space)) + Math.floor(yBoarder/2) + Math.floor(space/2)

  context.roundRect(xpos, ypos, rectSize, rectSize, rad)
  context.fillStyle = '#21A7D9'
  context.fill()
}
I know that when rendering our actual game tiles, I want to be working with grid coordinates not the x y pixel positions of our squares so I wrote two functions. The first translates our mouse position into our grid square coordinate, and the second is a function that draws a square based on that coordinate. This function will get a lot of use in the future when working on the actual game logic.

Damn that's one good looking grid. Next I will be getting to the fun part of placing pieces, and writing the actual game logic. Until next time!